The forks were brazed first.
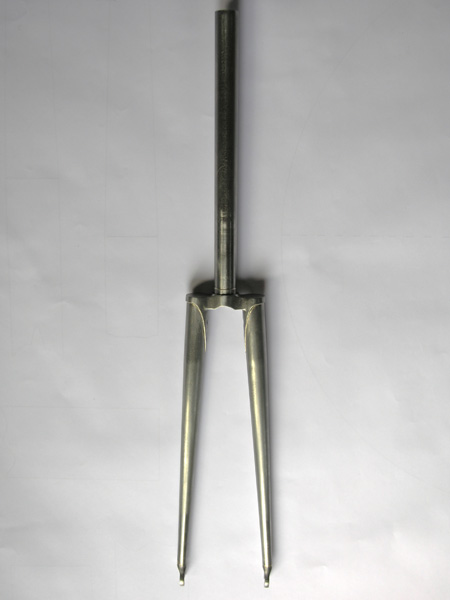
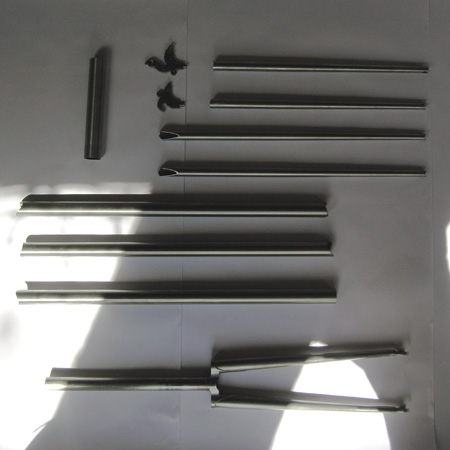
This is a picture of the forks, mitered tubes and dropouts ready for brazing.
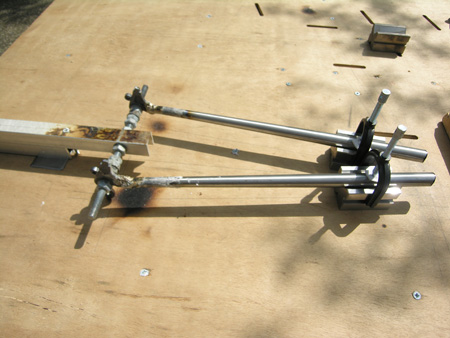
This is the jig I used to braze the front half of the frame. The base is a sheet of plywood onto which I drew the pattern of the frame. I used v-blocks clamped to the base to hold the tubes in place.
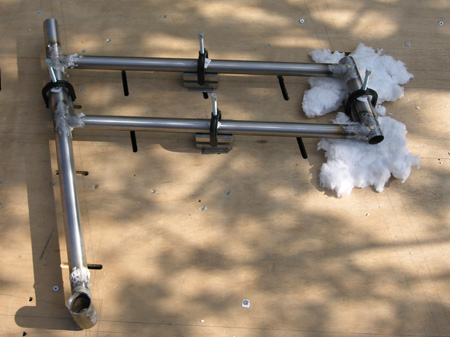
The front half of the frame was only tacked together in the jig as shown in this close up.
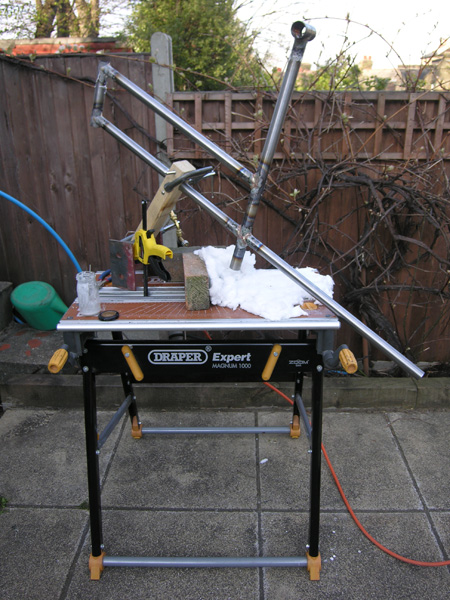
The front half of the frame was then mounted in this jig. It allowed the frame to be rotated so that the section of the joint being brazed was always at a low point between two tubes. This helps to get a good fillet.
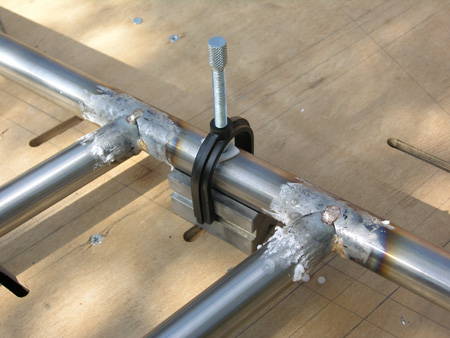
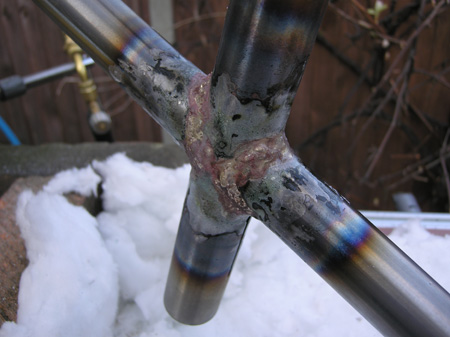
A close up of a joint after brazing. It is still covered with flux and needs filing into shape.
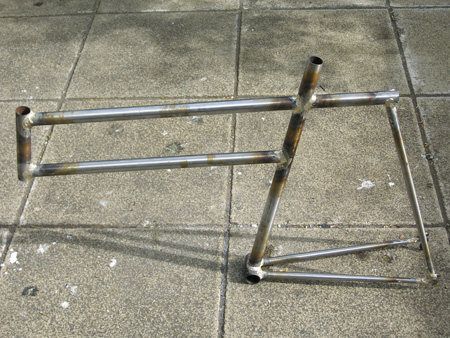
The rear of the frame was brazed in sections. A dummy axle was used to space and position the rear dropouts which were then brazed to the chainstays.
I reused and modified the base of the jig that was used for the front half of the frame to hold the frame in position. The final joints were then tacked in place.

The joints were fully brazed and the frame was trued by eye.
I then attached a sheet of steel to one side of the battery/electronics compartment. An unfortunate oversight on my part lead to warping of the frame due to the asymmetrical heating. It was unfortunate as the frame was true and straight prior to this step. The picture below shows the bicycle with the basic components added for the first time.
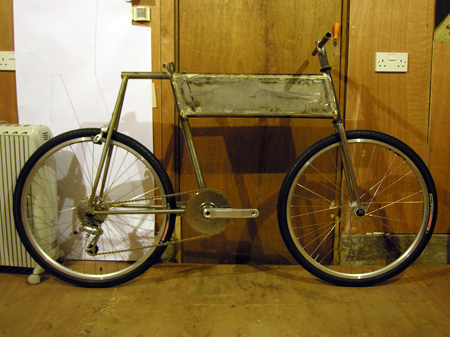
The bicycle was ride-able at this stage and initial tests showed the frame geometry to give a slightly unusual but acceptable performance. The steering was quick but the bicycle was stable. The details such as bosses and cable guides were brazed onto the frame and all the joints were filed into smooth fillet. The frame was then painted.